DIY Face Mask for glowing smooth skin

face mask lemons & petals

Besan (also known as chickpea or gram flour) has been used in India and Southeast Asia for hundreds of years as an exfoliant and homemade beauty agent for smooth glowing skin.  This recipe uses only ingredients found in your kitchen and is so easy to make.  Tumeric is a natural skin brightening agent.  It is thought to reduce melanin production.  Honey is a great moisturizer for skin.  Yogurt contains anti-bacterial and anti-microbial properties, as well as alpha hydroxyl acids, which kill acne-causing bacteria.  The nutrients in egg yolks work to hydrate, nourish, and moisturize dull skin.

abc

The ingredients:

  • 2 TBS Besan (chickpea or gram flour)
  • 1 TBS honey
  • 1/2 TBS yogurt
  • 1 egg yolk
  • 1/8 tsp tumeric powder

IMG_1978

Mix all ingredients together into a paste.

IMG_1974

Apply to face making sure to avoid the eye area.  Leave on for 20-30 minutes and rinse off with warm water.  You’ll be left with smooth glowing skin 🙂

Thanks for reading!

Advertisement

DIY Moisturizing Body Lotion Stick

body lotion stick

I wanted something moisturizing for my daughters’ dry skin.  They don’t like getting their hands “greasy” and therefore don’t use lotion or creams or even coconut oil to moisturize their skin.  So I came up with a solid moisturizing body lotion in a stick!  You can actually use any mold you would like for these solid lotion bars.  I chose an empty deodorant stick so my girls’ hands won’t get greasy as they apply the lotion.  I am so happy with this recipe.  And I love that it’s chemical free!

You will need:

  • 2 TBS coconut oil
  • 2 TBS shea butter or cocoa butter
  • 2 TBS beeswax
  • 15-20 drops of essential oils (I used lavender)

Melt the coconut oil, butter and beeswax in a double boiler.

IMG_4198

Then once melted, take it off the heat and add your essential oils.

IMG_4199

Quickly pour the liquid into your mold of choice before it hardens.  Set it in the fridge for about 20-30 minutes to firm up before use.  To use in a deodorant stick like me, just roll up and apply on your skin.  You can customize this to be less greasy but using a bit more beeswax and by using different essential oils.

I hope you will give this a try.  Thanks for reading 🙂

Homemade Dairy free Ice Cream

Homemade ice cream lemons petals

This is the easiest recipe for ice cream!  My kids devour this every time I make it…they even ask for it for breakfast 🙂  And I give it to them sometimes.  This is a delicious no fuss way to satisfy the cravings for something cold and sweet.  It has no added sugars and no dairy.

What you will need:

  • 2 frozen bananas (peeled)
  • 1 cup frozen strawberries, mangoes, blueberries, pineapple, etc (whatever you like)
  • 1/4 cup peanut butter (or almond butter)

Thaw out the frozen fruit for about 5-10 minutes.  Then just put everything in a food processor or blender and process until it resembles soft serve.  You may need to scrape down the sides a few times.  But that is it my friends!  Takes only a few minutes to see big smiles on your kids’ faces 🙂

Serve on a cone or in a cup.

IMG_4166

It got a little melty by the time I took this picture but it was still super delicious and satisfying.  Hope you will give it a try.

Thanks for reading 😉

Homemade Solid deodorant in a stick

lavender deodorant lemons petals

I stopped using Secret 4 years ago after realizing how harmful it is to use.

Ingredients in Secret: Aluminum zirconium trichlorohydrex Gly 15% (anhydrous), cyclopentasiloxane, talc, stearyl alcohol, dimethicone, hydrogenated castor oil, fragrance, polyethylene, dipropylene glycol, silica, behenyl alcohol

There is nothing natural in that!

  • Aluminum – has been linked to Breast Cancer & Alzheimer’s Disease.  Ugh!
  • Propylene glycol – This is a petroleum based compound. In large quantities, this stuff can cause damage to the central nervous system, liver, and heart.
  • Cyclopentasiloxane – (cyclomethicone) is a silicon-based cyclic compound.  This stuff is a highly environmentally toxic compound.  It is also known to cause non-reproductive organ toxicity along with endocrine disruption and neurotoxicity
  • Dipropylene glycol – this stuff is used as a plasticizer, an intermediate in industrial chemical reactions and as a solvent.  Gross!

No thanks!  So then I thought I was being “natural” and started using Lavanila deodorants.

Ingredients in Lavanila: Aloe barbadensis leaf juice (Aloe juice, water/aqua), Propanediol (Corn derived), Zea mays (Corn) starch, Sodium stearate (Coconut derived), Silica, Carrageenan (Seaweed derived), Stearyl behenate (Coconut derived), Citrus medica limonum (Lemon peel oil), Inulin (Artichoke derived), Saccharomyces ferment, Alpha-Glucan oligosaccharide (Sugar derived), Yeast beta glucan, Lonicera caprifolium (Honeysuckle) flower extract, Usnea barbata (Lichen) extract, Valeriana officinalis root extract (Valerian), Hydrastis canadensis (Goldenseal) extract, Melaleuca alternifolia (Tea tree) flower/leaf/stem extract, Lycium barbarum fruit extract (Goji berry), Botanical fragrance blend.

At $14.00 for 2oz container, I was shocked to see some of these ingredients.

  • Carrageenan – it is controversial but this is thought to cause ulcerations and inflammation in the colon which can lead to colon cancer
  • Propanediol & Zea mays – These are both corn based compounds and 90% of the corn crops in the US are GMO

While these ingredients are not horrible, why pay so much money for controversially harmful products.  Plus, it didn’t even keep me dry or odor free!

So I ventured out and tried to make my own…..and I had GREAT success!  My very first attempt was a simple one but one that worked.  I simply add baking soda and arrowroot to coconut oil and made a paste that I stored in a 4oz masor jar and applied with my fingers.  While that worked really really well, I wanted something that I didn’t have to stick my fingers in and get both hands “dirty”.

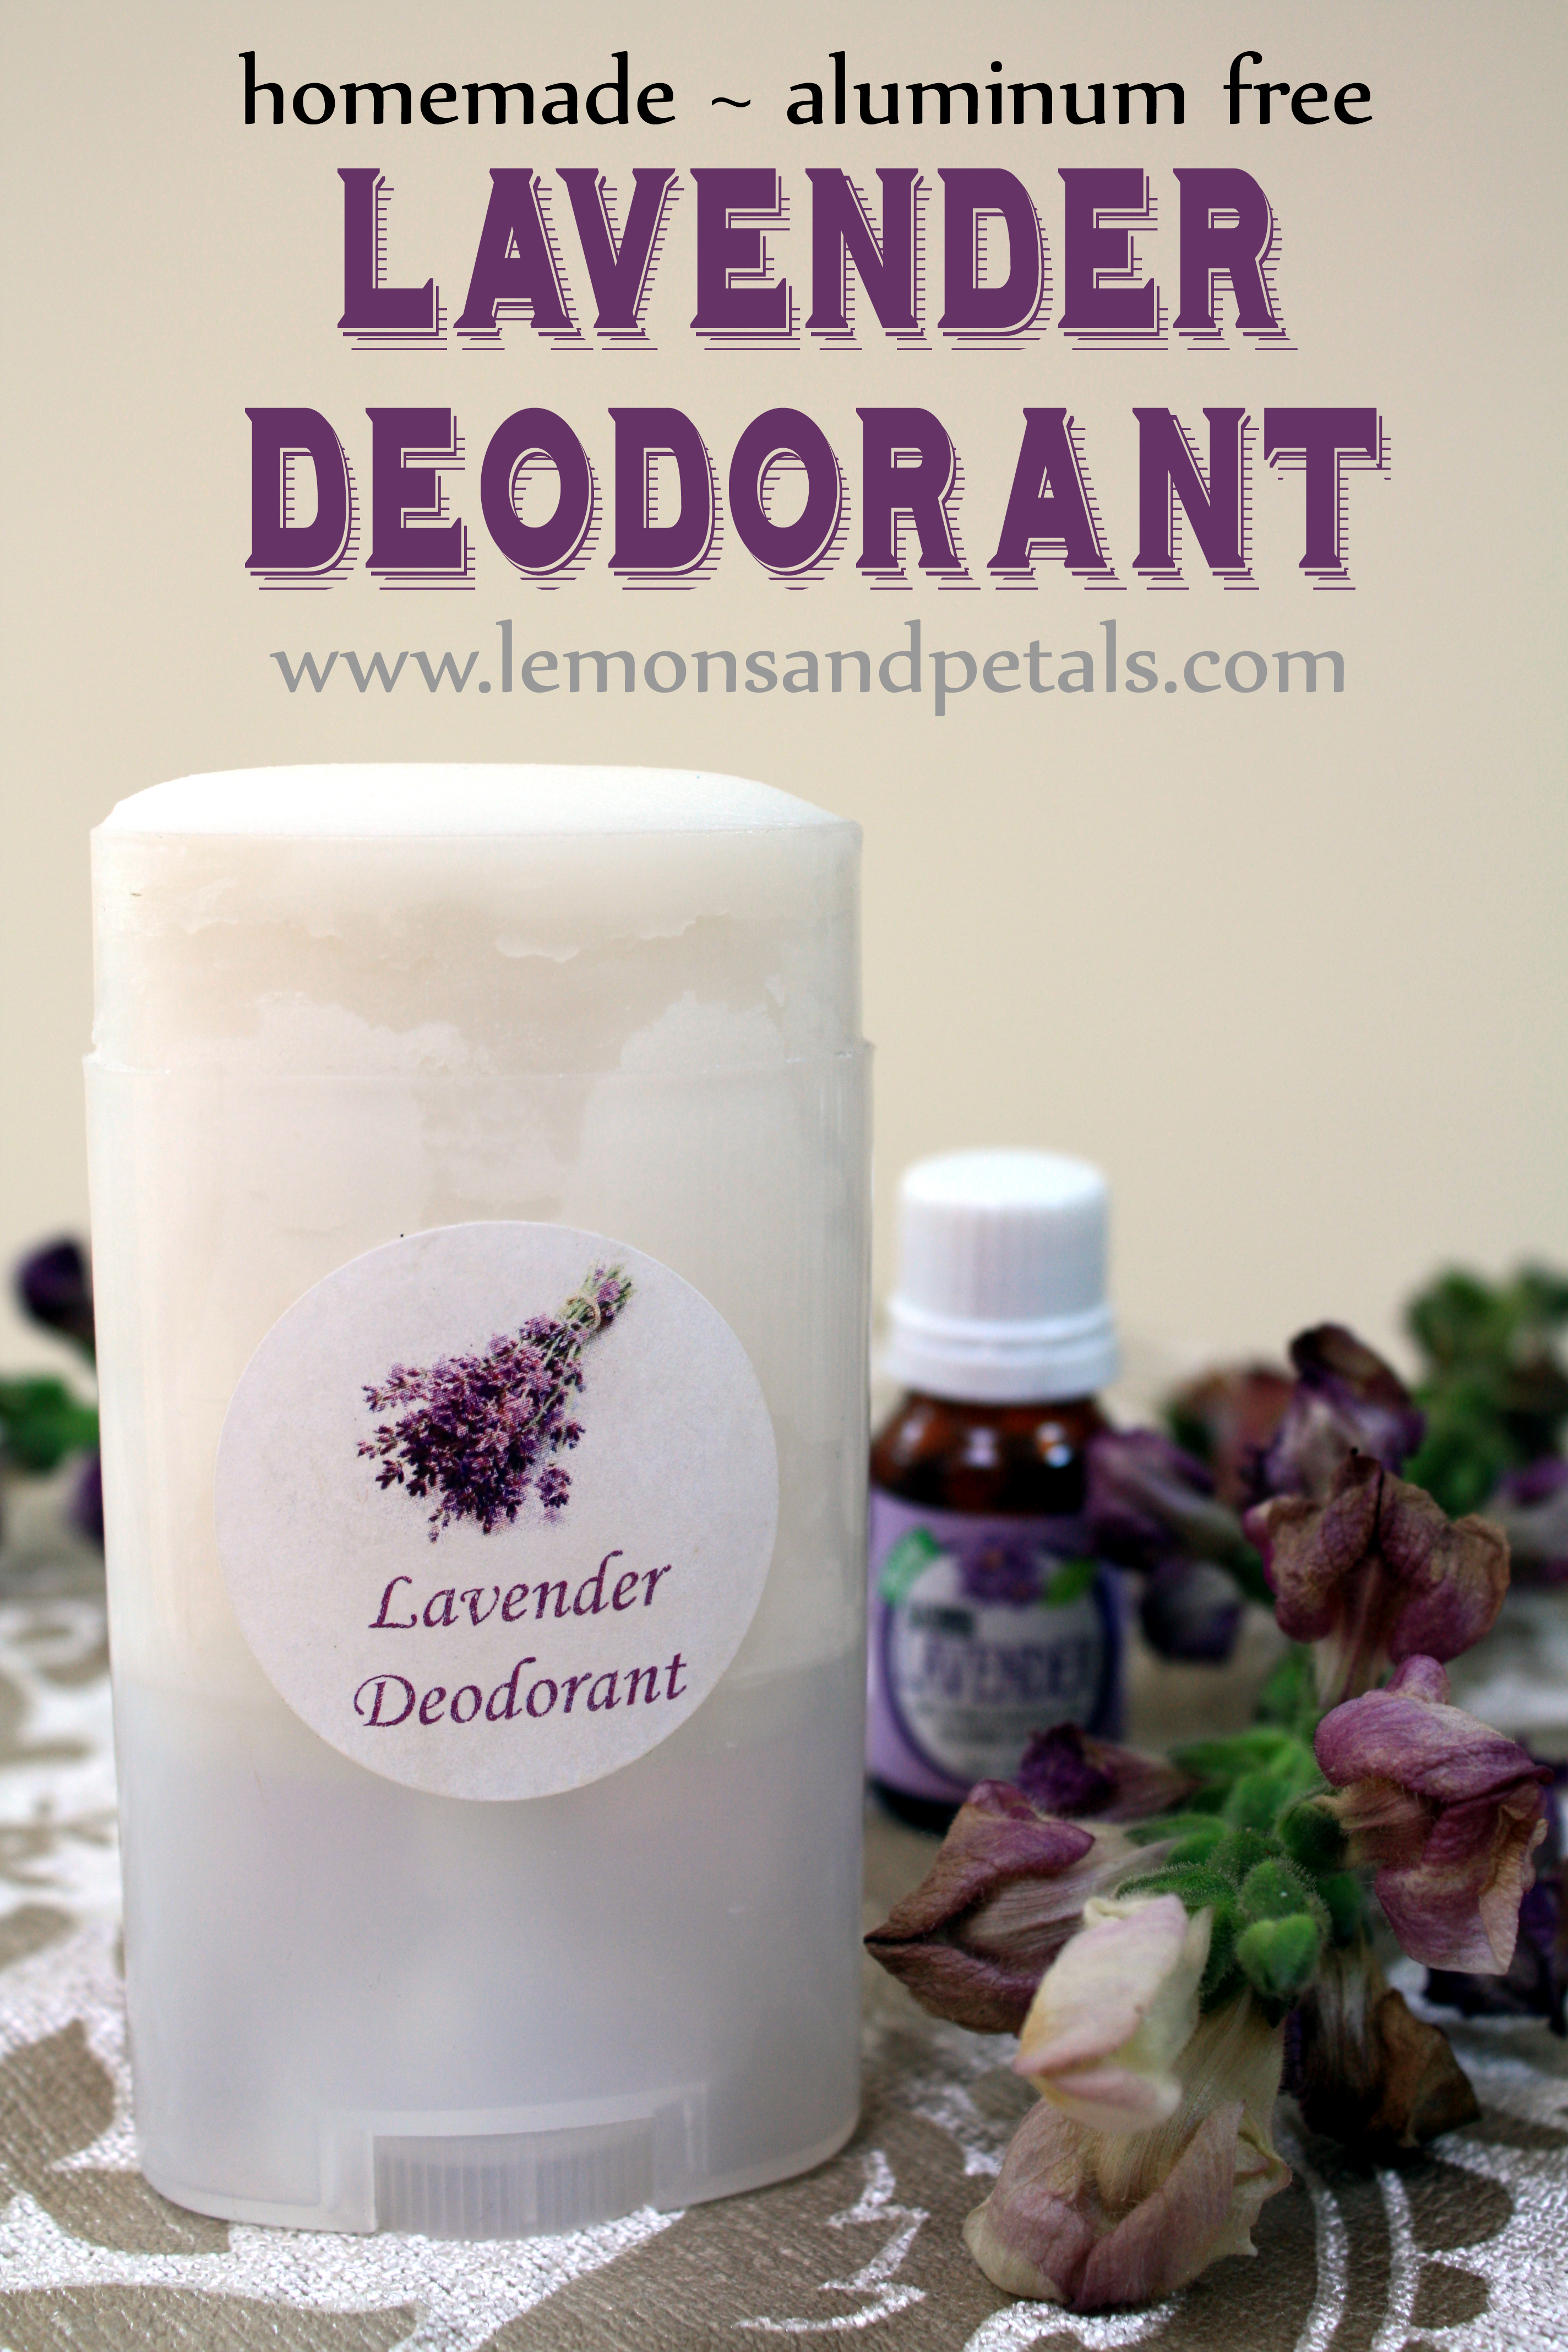
I finally came up with a homemade solid deodorant that I can use in a deodorant stick!

What you will need:

  • 3 TBS coconut oil
  • 2 TBS beeswax
  • 2 TBS baking soda
  • 2 TBS arrowroot powder
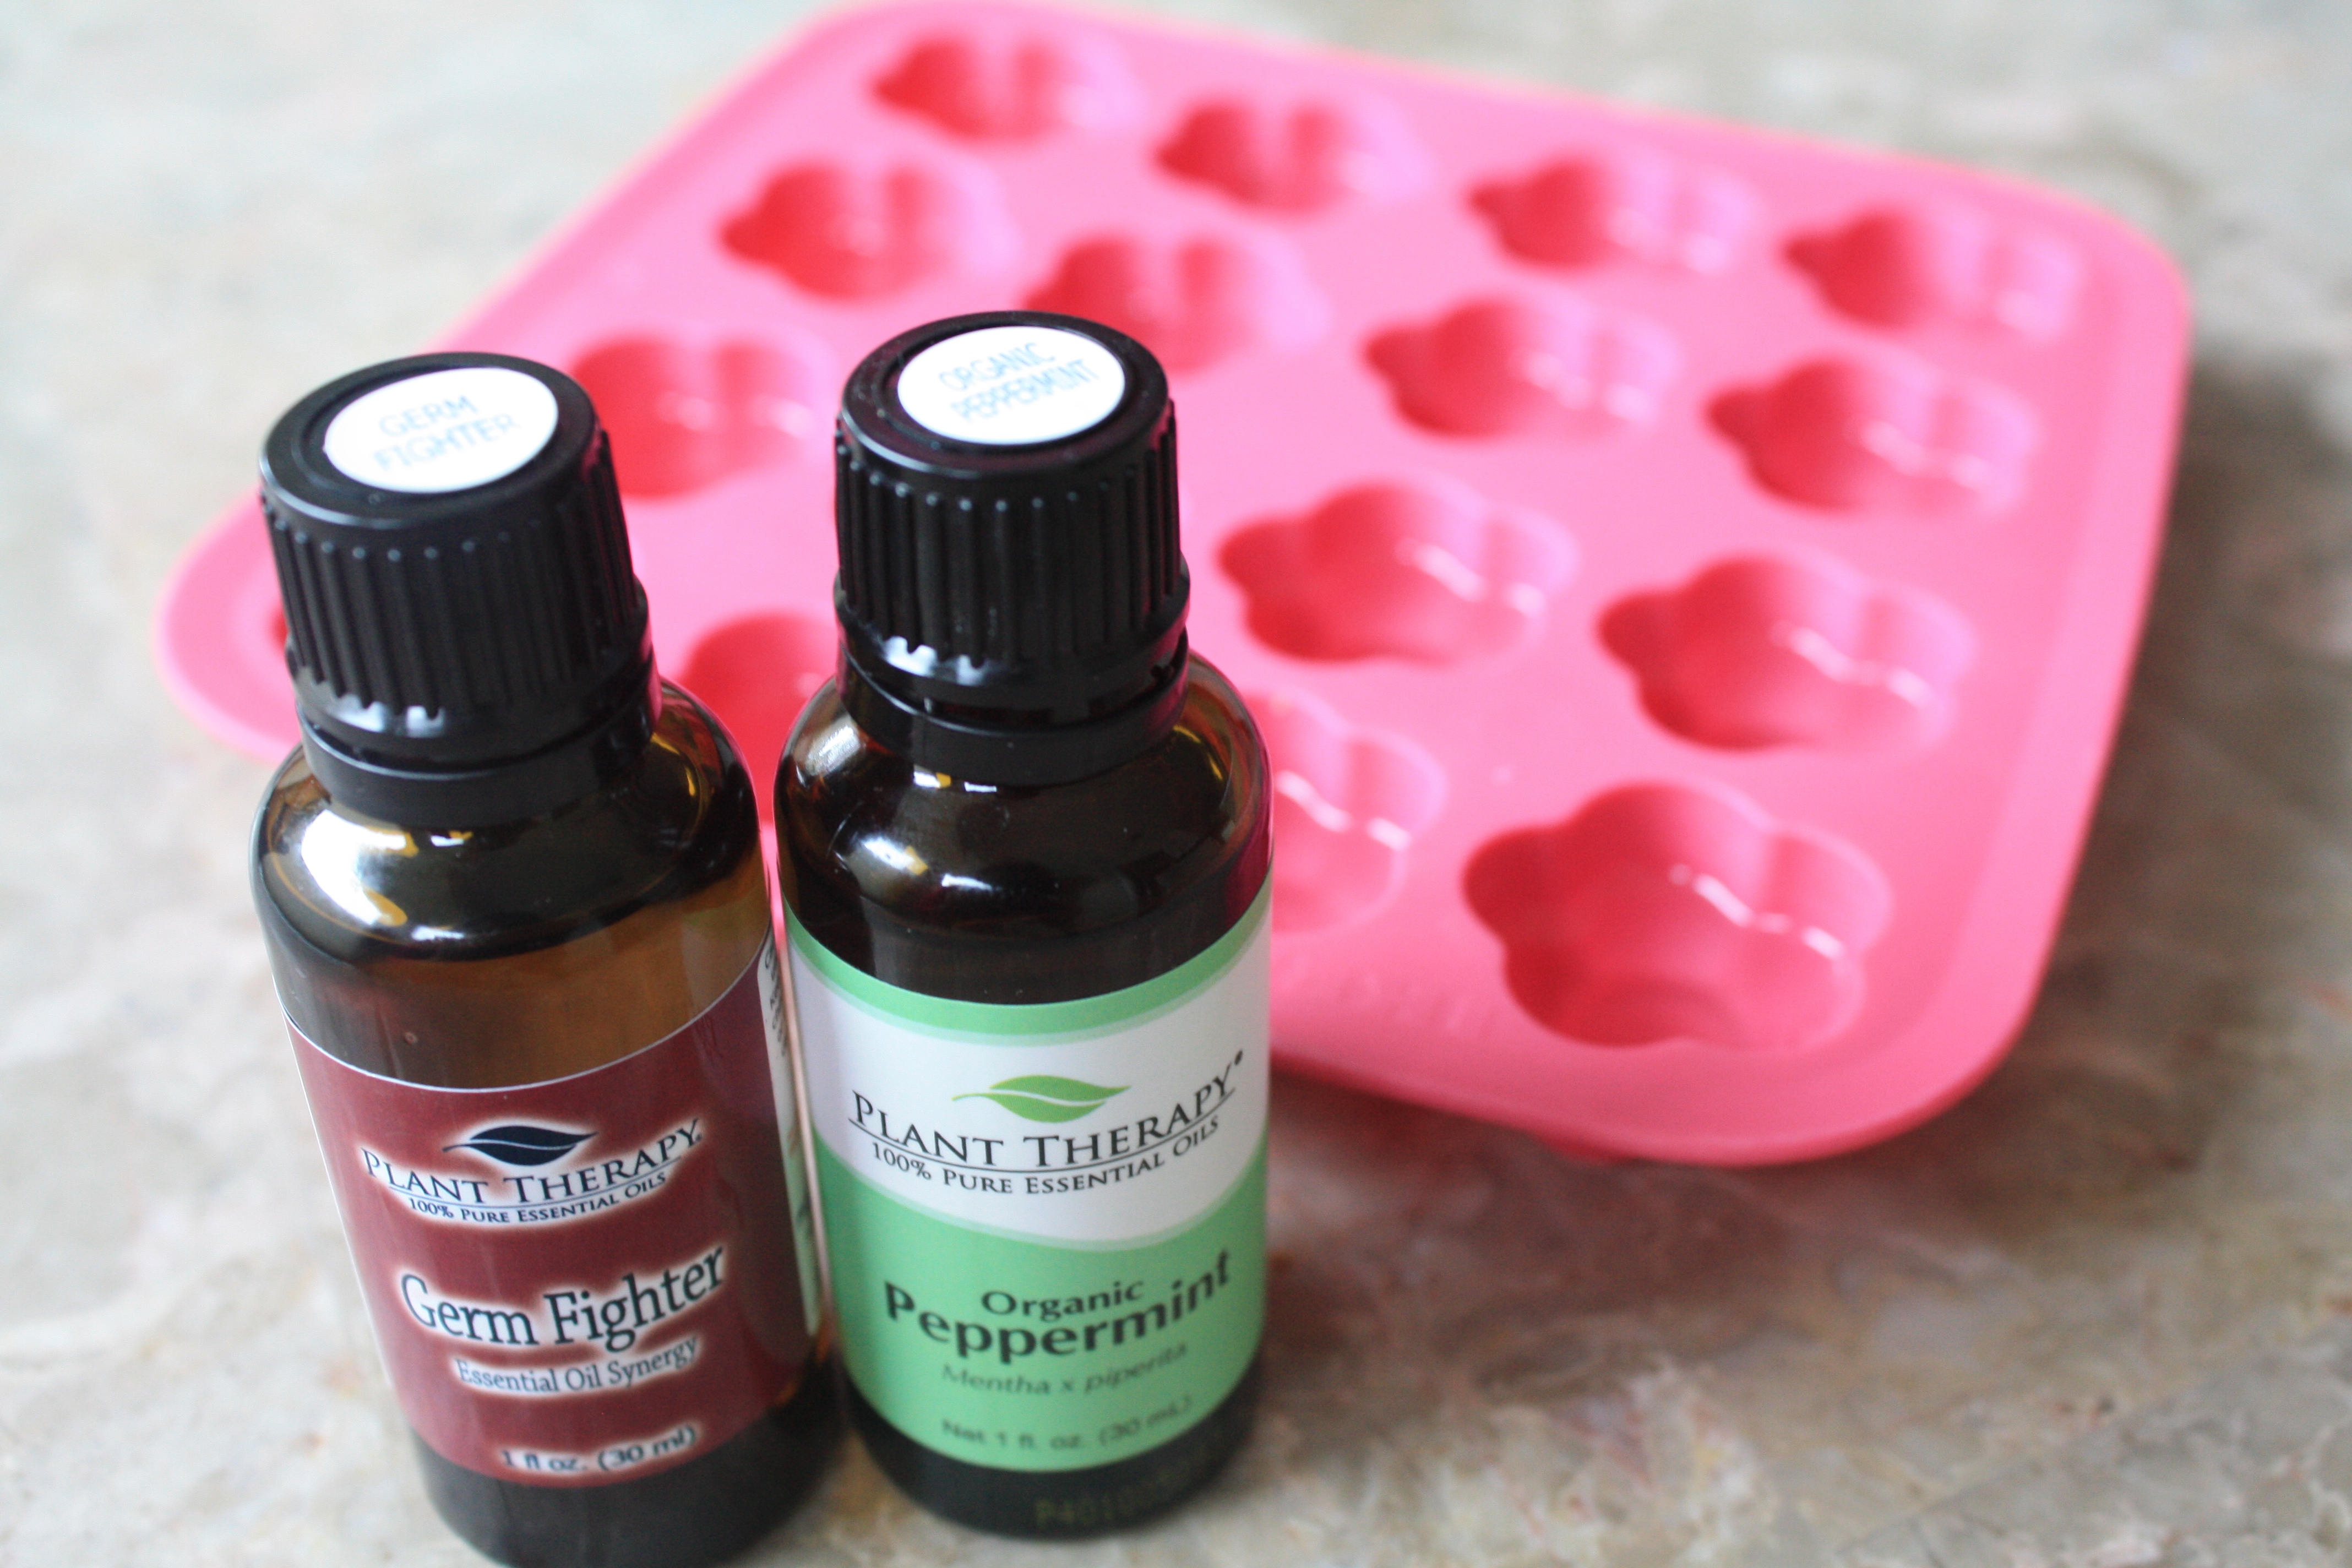
  • 15-20 drops of essential oils (I like using lavender) – optional

Melt the beeswax and coconut oil in a double boiler.

IMG_1860

Once melted, add in the baking soda and arrowroot powder and then remove from the boiler.  Then add your essential oils and mix.

IMG_1861        IMG_1862

Pour into your empty deodorant container and allow to harden for 12 hours. That’s it!  It’s extremely easy to make. But what really surprised me was how incredibly well it worked!  The baking soda helps absorb odors while the arrowroot powder helps absorb wetness.  Plus the coconut oil is antimicrobial so helps to ward off the bad bacteria that cause unpleasant odors.  The beeswax is mainly to help keep the deodorant in a solid state.  The essential oils are for pleasant aromas but they also help to ward off bad bacteria especially tee tree oil and lavender.

This deodorant kept me dry and odor free even after wearing this deodorant all day AND doing a one hour spinning class…..and I didn’t even apply right before my workout. Trust me….this works wonders AND it’s organic, natural and healthy!  Even my husband switched (minus the lavender of course ;)).  I added cedarwood and patchouli essential oils to his and he is delighted!

Hope you guys try it out.  Thanks for reading 🙂

Oil Pulling Chewables

IMG_1851 2

So I started oil pulling about 3 months ago.  What is oil pulling?

Oil pulling is an ancient Ayurvedic practice of swishing 1-3 teaspoons of oil in your mouth for 15-20 minutes daily.  This is thought to draw out toxins from your body which not only improves your dental health but your overall health as well.  It also reduces harmful bacteria that are present in your mouth.  Oil pulling can reduce plaque formation, gingivitis and even bad breath.  It can also relieve sinus and nasal congestion and pressure as well as headaches.

I prefer to use coconut oil for my oil pulling as coconut oil has been shown to be antimicrobial, tastes better than the other oils and…..it’s easy with these chewables!  I first started out by just digging a spoon in my coconut oil jar and sticking the oil in my mouth and letting it melt in my mouth as I slowly swished the oil between my teeth.  Then I started adding some tooth healing and breath freshening essential oils to the coconut oil before I swished.  So I would melt a tablespoon of coconut oil and add in a few drops of the essentials oils and then swish.  This became somewhat cumbersome to do on a daily basis.  Since coconut oil is solid about 76 degrees, I thought about making premeasured coconut oil chewables.  These chewables make it so easy to oil pull every morning.  Just pop one out of the fridge and swish.  The coconut oil is easier to handle texture wise because it’s cold and the taste and smell is improved because of the essential oils.  Win win situation!

What you will need:

  • 1/4 cup of melted coconut oil
  • 12 drops of peppermint essential oil  (like this one)
  • 12 drops of germ fighter essential oil (like this one)

The essential oils are not only for taste.  The germ fighter essential oil contains Lemon, Clove, Eucalyptus, Cinnamon and Rosemary oils.  These are known for their “germ fighting” abilities.  Peppermint essential oil helps to combat bad breath.

IMG_1841

Mix the coconut oil and the essentials oil together.  Pour 1-3 teaspoons into a silicone mold.  Stick the mold in the fridge for 20-30 minutes until the coconut oil has hardened.  Pop the coconut oil chewables out of the mold and stick them in a mason jar or any container of your choice.  I prefer to store mine in the fridge during the summer months as the coconut oil can melt.  It’s fine to store at room temperature during the winter months.

IMG_1842

Every morning before brushing or eating, take one chewable and pop it in your mouth.  Wait a few seconds for it to start melting, then start swishing it between your teeth for 15-20 minutes.  Then spit in a trash can so you don’t clog our drains with the oils.  Rinse your mouth with warm water and brush your teeth as usual.  You’re done!

Quick easy simple remedy to improving your oral and overall health.

Homemade pH balanced shampoo

I decided to stop using commercial shampoo and hopped on the “no poo” bandwagon about 4 months ago.  It made sense to me that commercial shampoos contain detergents that strip your scalp of oils.  This is turn makes your scalp want to produce more oils to compensate.  Your natural oils never get a chance to condition your hair because they are being stripped off so now you need to use a conditioner.  So you end up in a vicious cycle and end up having oily hair, fine hair, flat hair, frizzy hair etc.  I started out with the baking soda/apple cider vinegar combination and while it was okay, I didn’t love it.  Then I started using a shampoo bar from JR Liggetts (like this one) which worked great as it left my straight, thin hair full of volume. But my hair was a little dry.  I was able to cut down washing my hair to 3 times a week which was so nice!.  I also tried Dr. Bronner’s castile soap (like this one).  It worked okay but it also left my hair dry and sort of “knotty”. But I was determined not to use any chemicals on my hair so I continued on.

Then I learned about pH.  Soap is made by the use of lye to saponify oils and hence is alkaline by nature.  Your scalp pH is around 4.5-5 which is acidic.  Baking soda, JR Liggetts and Dr. Bronner’s castile soap are all HIGHLY ALKALINE and will destroy your hair with continued use.  Your hair will become brittle over time and your scalp will become irritated and flaky.  By using alkaline soaps to wash your hair, you are causing the hair follicles to open and damage the hair cuticles.  Over time, this leads to dry damaged hair and an itchy scalp.

So if soap is too alkaline for the scalp, how do you make a pH balanced, chemical free, homemade shampoo that also makes your hair feel clean and soft and voluminous?  Well, my friends, I have found the answer!

soap-nuts-laundry-soap

SOAPNUTS

What are soapnuts?  Soapnuts contain saponins which are a natural surfactant.  People have been using these for thousands of years in Asia for cleaning.  I’ve been using soapnuts in my washing machine for the past 2 months and my clothes come out clean and smell good.  Keep tuned for a post about using soapnuts in your laundry soon.

Coming back to shampoo!  Soapnuts can also be used to wash your hair.  It leaves your hair clean and soft without using any sulfates, parabens or chemicals.  And the pH of soapnuts is between 4.5-5 (just like your scalp!)

IMG_1830

Shikakai and Amla are two other herbs that is extremely beneficial for the hair.  Shikakai makes your hair super soft and amla helps strengthen your hair.

IMG_1825

What you will need:

  • 3 soapnuts (I use these) or 1 TBS aritha powder (soapnut powder like this one)
  • 1 TBS shikakai powder (like this one)
  • 1 TBS amla powder (like this one)
  • 1 cup boiling water
  • 5 drops essential oil (optional)

If using soapnuts, then grind them into a powder using a spice or coffee grinder or your food processor.  If using aritha powder, then just add to the other powders.  Boil 1 cup of water and then add it to the powder mixture and let it steep for 30 min to 1 hour.  After that, strain the liquid into a bottle and discard the pulp.  You can add any essential oils at this time to the bottle if you wish.  I added lavender essential oil to make it smell divine.  Shake up your bottle and squirt it on your scalp and massage.  Note that this shampoo will not lather but it will clean.  This shampoo leaves my hair super soft and it feels so thick!  You will be amazed!  Be extra careful not to get this in your eyes because it burns!

This is a one time use shampoo.  Prepare a new batch every time you want to wash your hair or prepare a bigger batch and keep it in the fridge for up to a week.

Please also read “How to restore the pH of your scalp” for more information about how important pH is.

Hope you enjoy!  Thanks for reading 🙂

Homemade Lavender Sugar Body Scrub

IMG_1815-2

I’m so excited to share this body scrub recipe with you guys.  This is the best way to unwind after a long day!  It’s really easy to make and lasts for a long time.  I usually use mine up within a month but it should last about 6 months in a sealed container.

Let’s get started 🙂

You will need:

  • 1 cup of organic granulated sugar
  • 1/4 cup oil (I used avocado oil because it’s so moisturizing)
  • 1 TBS fresh lavender buds (optional but recommended)
  • 10 drops lavender essential oil (or your favorite blend)

IMG_1750

Mix everything together in a bowl and store in a jar of your choice.  Super easy!

IMG_1761

IMG_1760

IMG_1816

To use:

Take a small amount in wet hands and gently rub on your skin.  Rinse off with warm water.  Your skin will feel soft and smooth.  And you will smell like lavender….very relaxing!

Thanks for reading!  I hope you make this scrub soon 🙂